Sunday, June 5, 2011

Trial Build of the Rear End

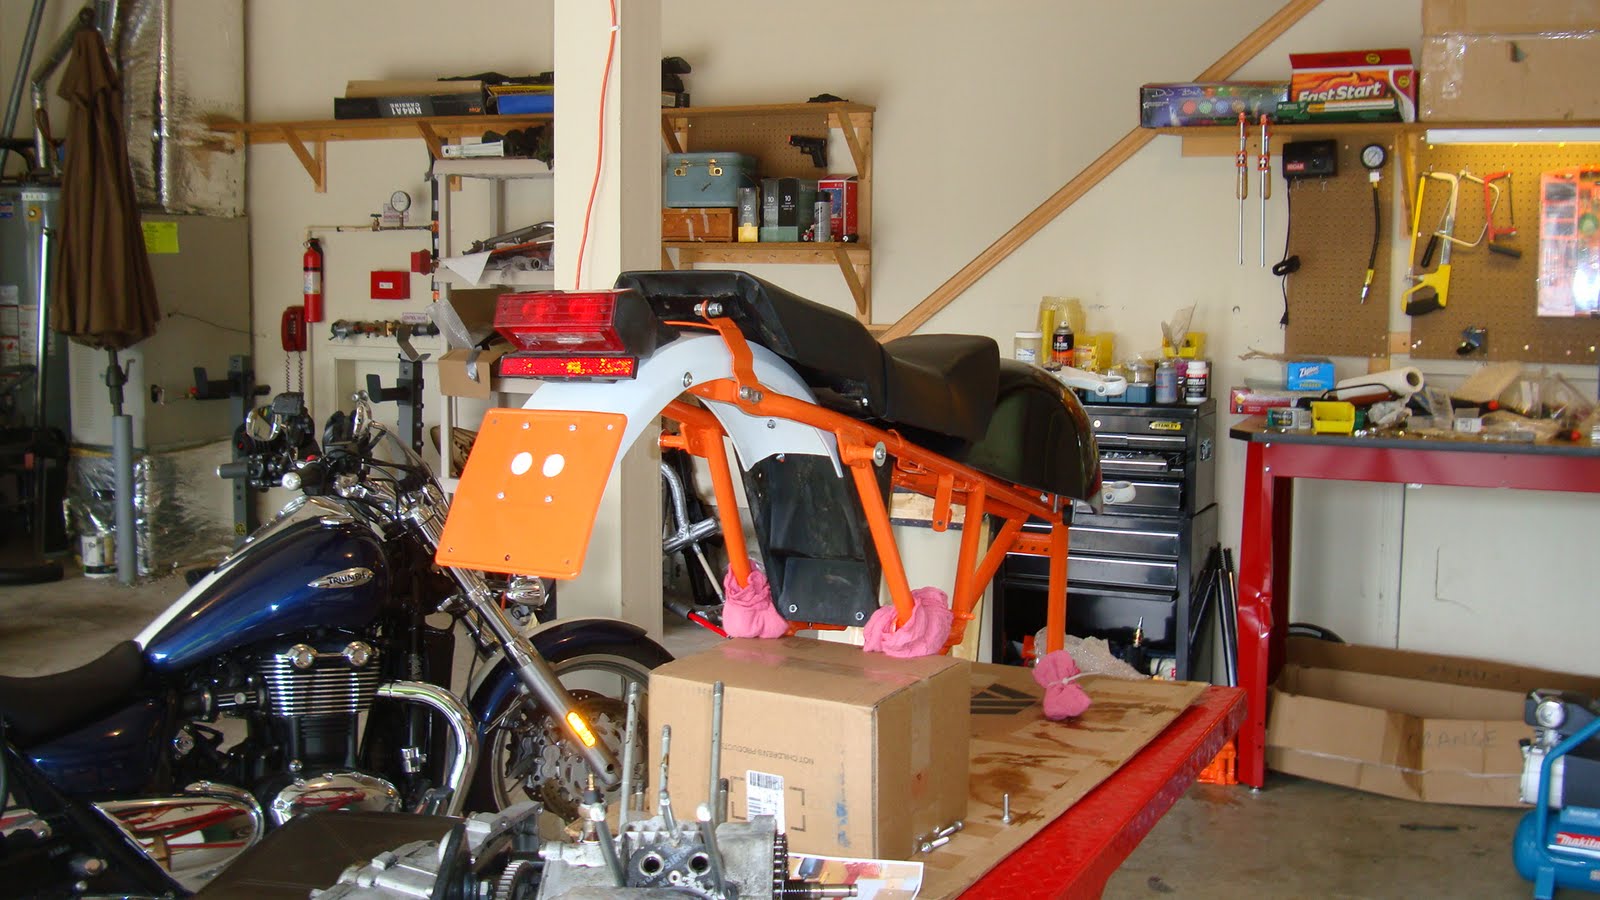
Today I did a trial build of some of the top frame components, just to offer things up and see what they look like. Nothing's final at this point!

Hear's the rear fender and license plate holder fitted into the rear frame with the seat mounting bracket:


I then fitted the toolholder (which is quite an integral part of the center-frame construction), and the battery plate. I fitted the original Guzzi seat to the mounting bracket, and offered up the new tank. If I use the original seta, I'll need to get someone like Rich's Custom Seats to modify the seat:


We'll also have to tidy up the backside of the seat: 


Some metal will have to come off the seat frame to make it fit the new tank:


Just for fun I mounted the brake light:


On the other hand, I could just put on a new seat pan, and make a new seat from scratch:


There's plenty of space:


Decisions decisions...

Clutch and Gearbox Disassembly

The clutch housing is held on by a few Allen heads and is easily removed. A sharp tap with a rubber mallet overcomes gasket stiction. You need to remove the clutch altogether in orderto take the primary drive off the transmission however. Remove these three bolts:


And pull out the clutch. A sharp tap with the aforementioned rubber mallet gets it out.


This is the clutch housing seal:


Now to remove the gearbox cover. First remove all the Allen bolts holding the end of the transmission onto the main housing. Then you must insert the clutch, next to the primary drive, like so:


Now Moto Guzzi will sell you a tool that grips the splined shaft of the clutch, so you can hold it steady while undoing the primary drive mounting bolt. Moto International suggested putting a penny between the gears to jam them, the idea being that the soft penny takes all the damage. Rodekyll on the WildGuzzi forum suggested using a copper washer as it is even soften (pennies are quite hard). So a copper washer was duly used:


And off comes the transmission bolt, with no damage to the gears! Thanks guys!


The transmission itself looks in great shape:


Note the spling-loaded plug used as the gearbox vent:


Sunday, May 1, 2011

Cylinder Head Stripdown

Gotta love the simplicity of the Guzzi design. Stripping down the top end is very easy. On one side, the bolts were well torqued, and just needed a little persuasion in a few cases. On the other, the bolts had clearly not been torqued properly, and virtually fell off. Oh well.

Start by just removing the rocker covers:


There are five bolts that hold the cylinder in place. Four are obvious:


and one is below the cutout for the breather pipe:


The bolts are broken in diagonal sequence, and then the first things to come off are the two bolts that hold the valve rocker assemby:


There's a D-shaped spacer under each nut:


and then the rocker assembly comes off:


There are two other D-shaped spacers under the rocker assembly:


A sharp tap with a rubber mallet released the grip of the gaskets:


and off she comes:


Say hello to Mr. Piston:


Here's the barrel. The water droplets are from the recent pressure washing:


Here are the valves:


A Ziplock bag over the pistons protects them from the casings:


Here is is with both sides removed:


Engine Cleaning

First order of business with the engine mounted in its stand was to clean it up a bit. I used Gunk Engine cleaner, and the equivalent product from 3-in-1. I then cleaned it off with a pressure washer.


Not bad! The flash makes it look cleaner than it does in real life: