Sunday, September 30, 2012

New Seat

I had the seat remade and recoverd by Rich O'Connor of Rich's Custom Seats in Kingston, WA. Here's the finished product:


But let's start at the beginning. I turn up at Rich's to see a fine collection of bikes inside and outside his shop


I really don't like the stock seat cowl, and think the bike looks too rectangular. As I wanted a rounded bum-stop seat, Rich first made an extension to the seat pan.


He then added and removed seat foam to sculpt the seat to the idea I had in my head:


The man himself:


Rather shaky picture taken in Rich's workshop:


Better photos taken once I got it home:


I'm starting to think about tidying up the rear by removing the fender, or at least chopping it off below the frame line, and adding an LED-based license plate holder:


Look how much better it looks that the old seat, in the previous blog below. Final comment: BIG THANKS to Rich and his team in Kingston, WA. Great, great craftsmanship and service, totally recommended to anyone wanting a seat made to their specific requirements.

Wednesday, August 22, 2012

Painted Tank

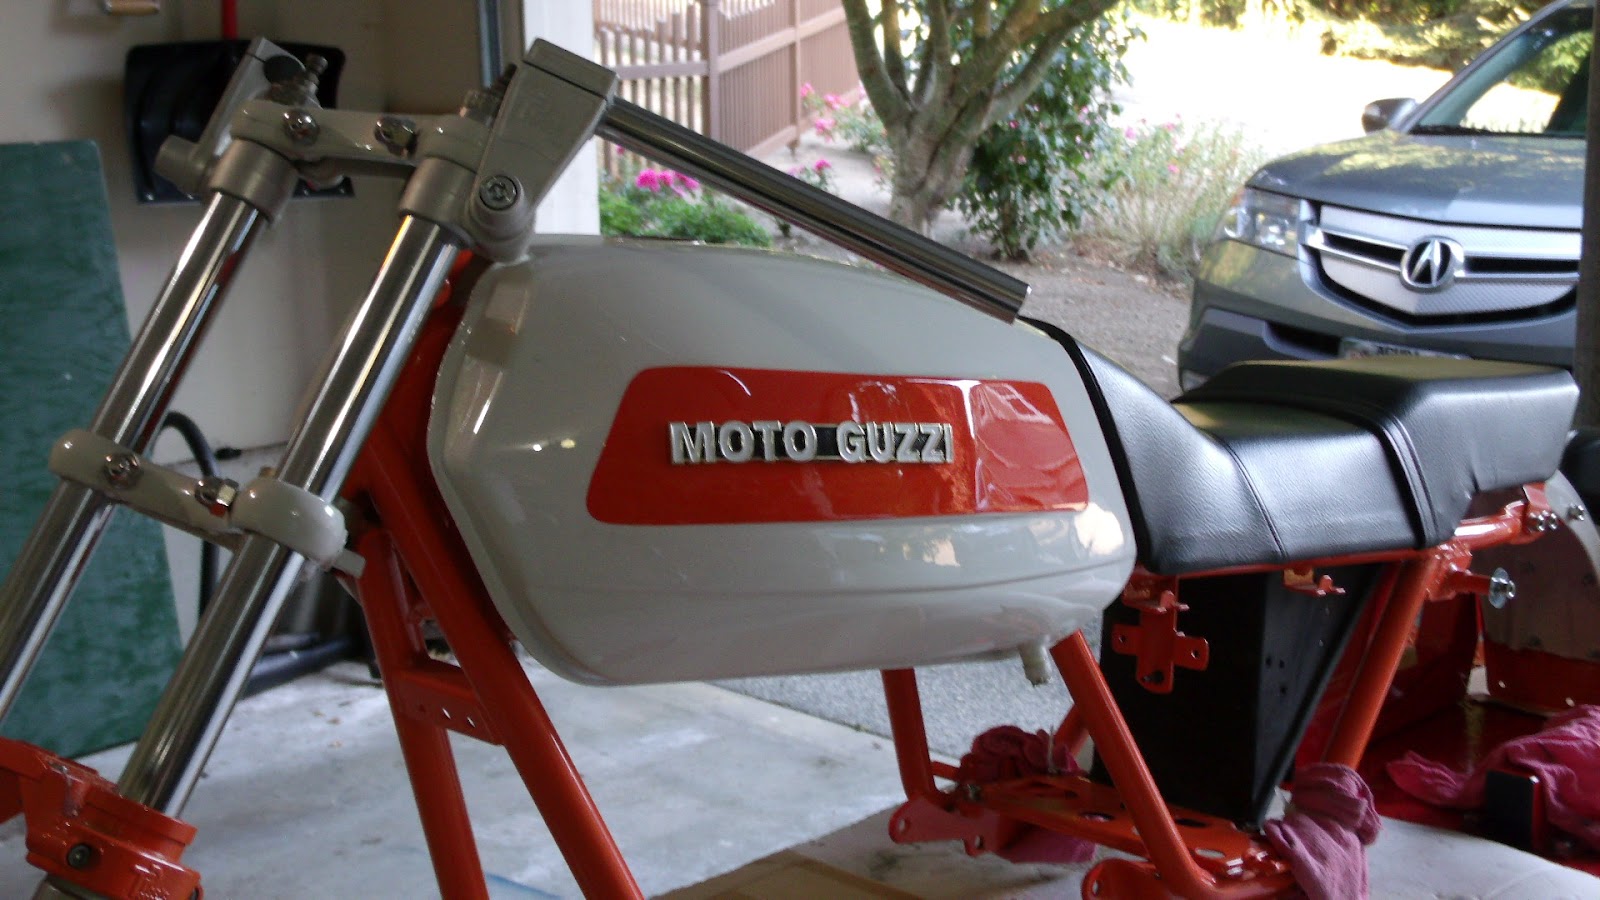
So, I got the tank back after being painted by the excellent Jon Conway of Fenders and Fins:


I'm really digging the color scheme as it evolves


Seat recovering is the last summer (i.e. outsource) project, then back to the engine rebuild when the nights draw in!


Sunday, March 4, 2012

Seat and Tank Trial Build

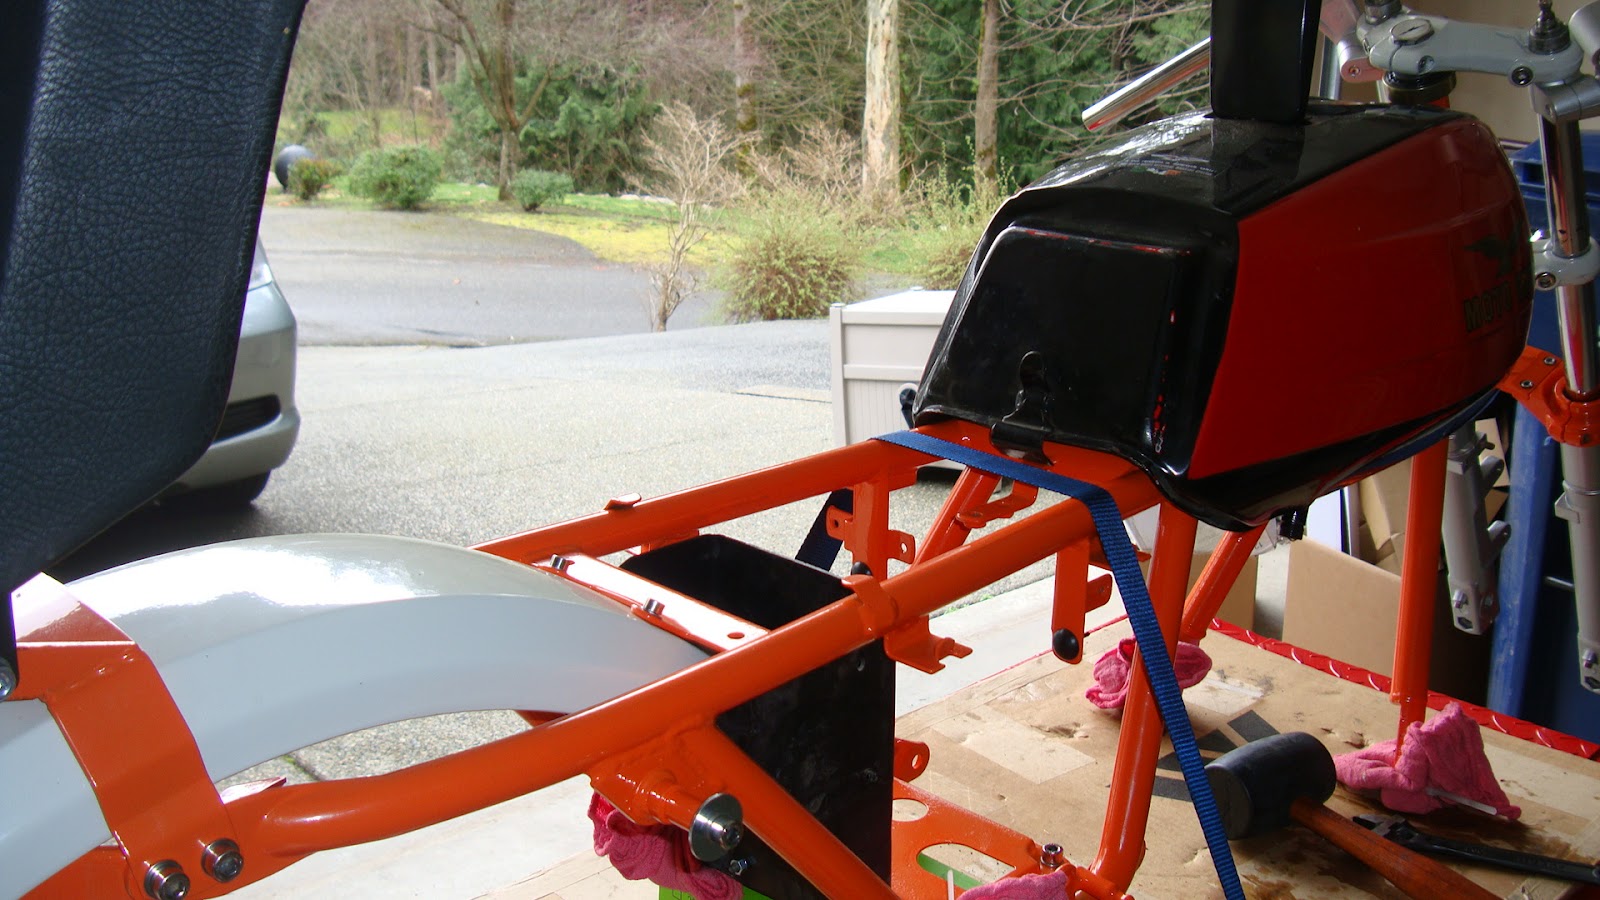
While the engine is still in bits, I decided to get the tank out for painting and the seat redone. Here's several pictures of various bits and pieces:

Note the wonderfully complex way the rear fender goes on: 


I decided to keep the original tank because the gas just sits so low in the frame. It needs to be painted. Aslo, I fitted new rubber tank mounts and was amazed how hard it was to get the tank on. Clearly they compress a lot in use. With the old rubber mounts the tank came on and off like a pair of slippers. Not so with the new ones!


Then I added the seat:


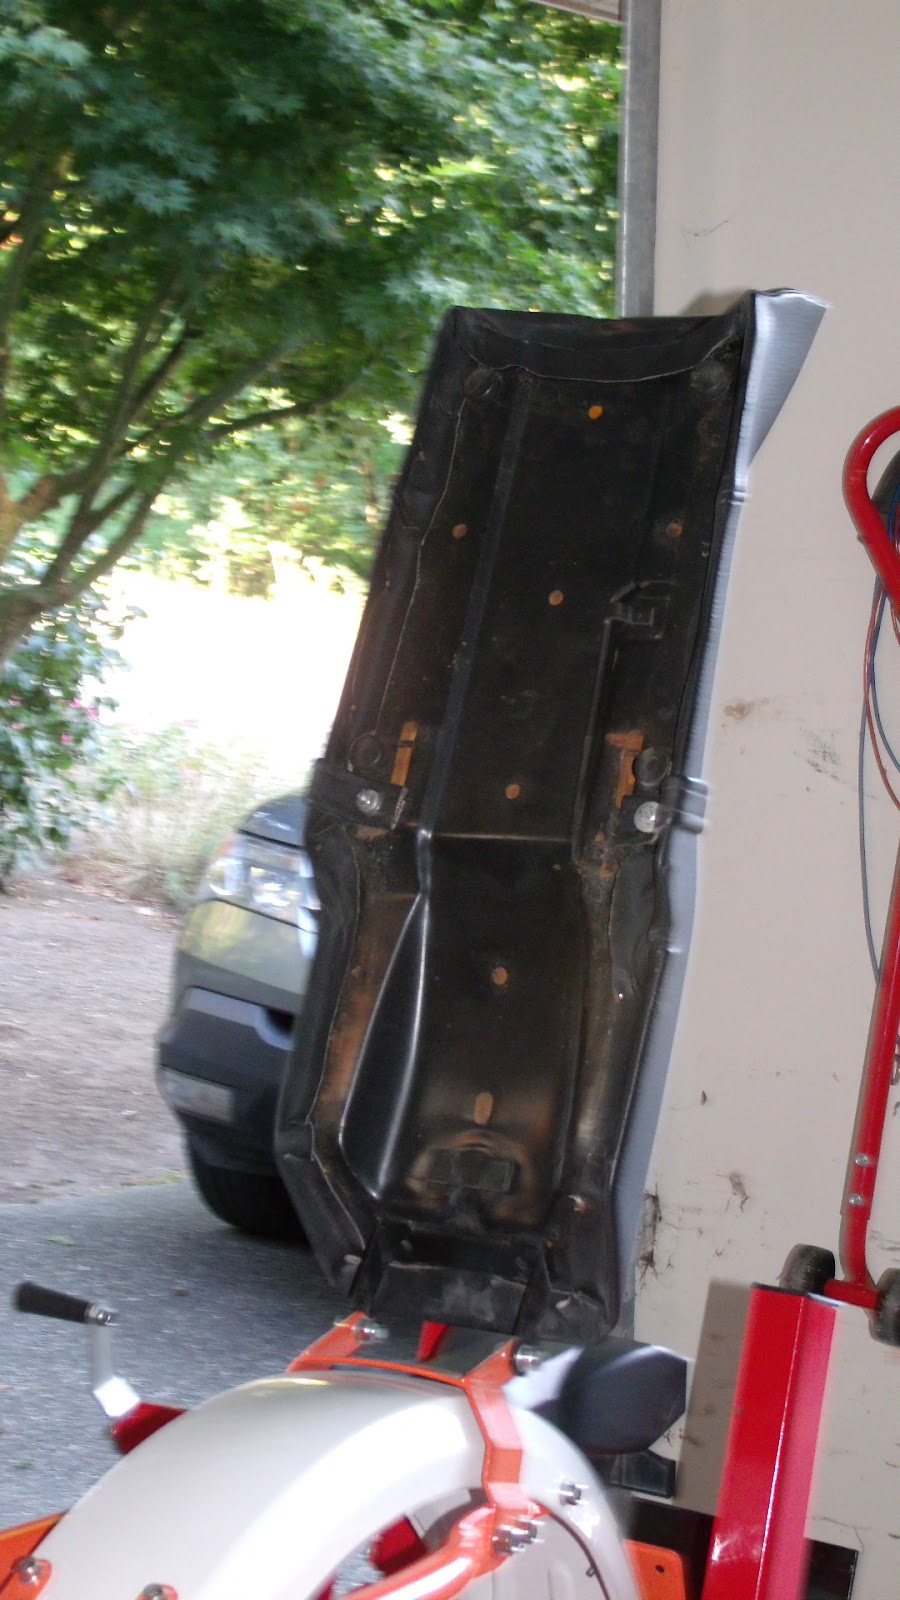
I like the old seat except for how it looks from the rear. I'm not a great fan of the rectangular plastic piece Guzzi use as an end piece, so need to work something better out. 


Note how 30 years of use means the seat foam pulls away from lying against the tank.


Sunday, July 17, 2011

Engine cleaning and painting

I decided not to bead blast the engine casings, and to paint them instead using POR-15's engine paining kit. Here's how it went:

Start off with the engine casings. They had already been pressure washed when the engine was in a single piece, but now we're going for the deep clean. Here's the initial condition (click to see larger):


There's no rust, but the alloy has a dirty finish and looks tired:


The first step is a clean with a regular engine cleaner/degreaser:


You then splay on a mixture of POR-15's Marine Clean and hot water. Spray it on, leave it, scrub it with brushes and then rinse off:


Repeat this step until the engine is free of all grime. You then spray on the POR-15 Prep-and-Ready onto the clean surface, leave it about 20 minutes and wash it off. This roughens the surface and leaves a deposit behind that the POR-15 adheres to:


It actually makes the surfaces look worse! But it's ready for the POR-15 itself once everything is bone dry. This comes in a tiny tin, and I thought it would never be enough. But it goes on very easily with a 1" and 1/2" brush, and there was plenty left, probably more than half was left. The finish is great, a nice glossy topcoat on top of the clean grey metal:


Some people like to leave it with just the POR-15. (Someone I know used two coats of POR-15 and then a  clear coat to protect it from UV, which can make it go yellow. It looks great!) But I decided to use the Aluminum-colored Engine Enamel.

Wait until the POR-15 is dry, but still offers some drag to your finger when you lightly stroke your finger across a surface. Then simply paint on the engine enamel, using as little as possible to cover completely. Leave it to harden for about a week (I left it for two), then lightly scuff and also rub out any runs with a fine sandpaper. Add a second coat. End results were spectacular, IMHO:


I used POR-15's Chevy Orange engine enamel on the cylinder heads:


Overall, I'm really pleased with the POR-15 engine painting hit. It's taken several hours over a period of about a month, but was pretty straight forward. I think the engine casings look great, and can't wait to start putting it all back together.