Sunday, October 28, 2012

Clutch Rebuild

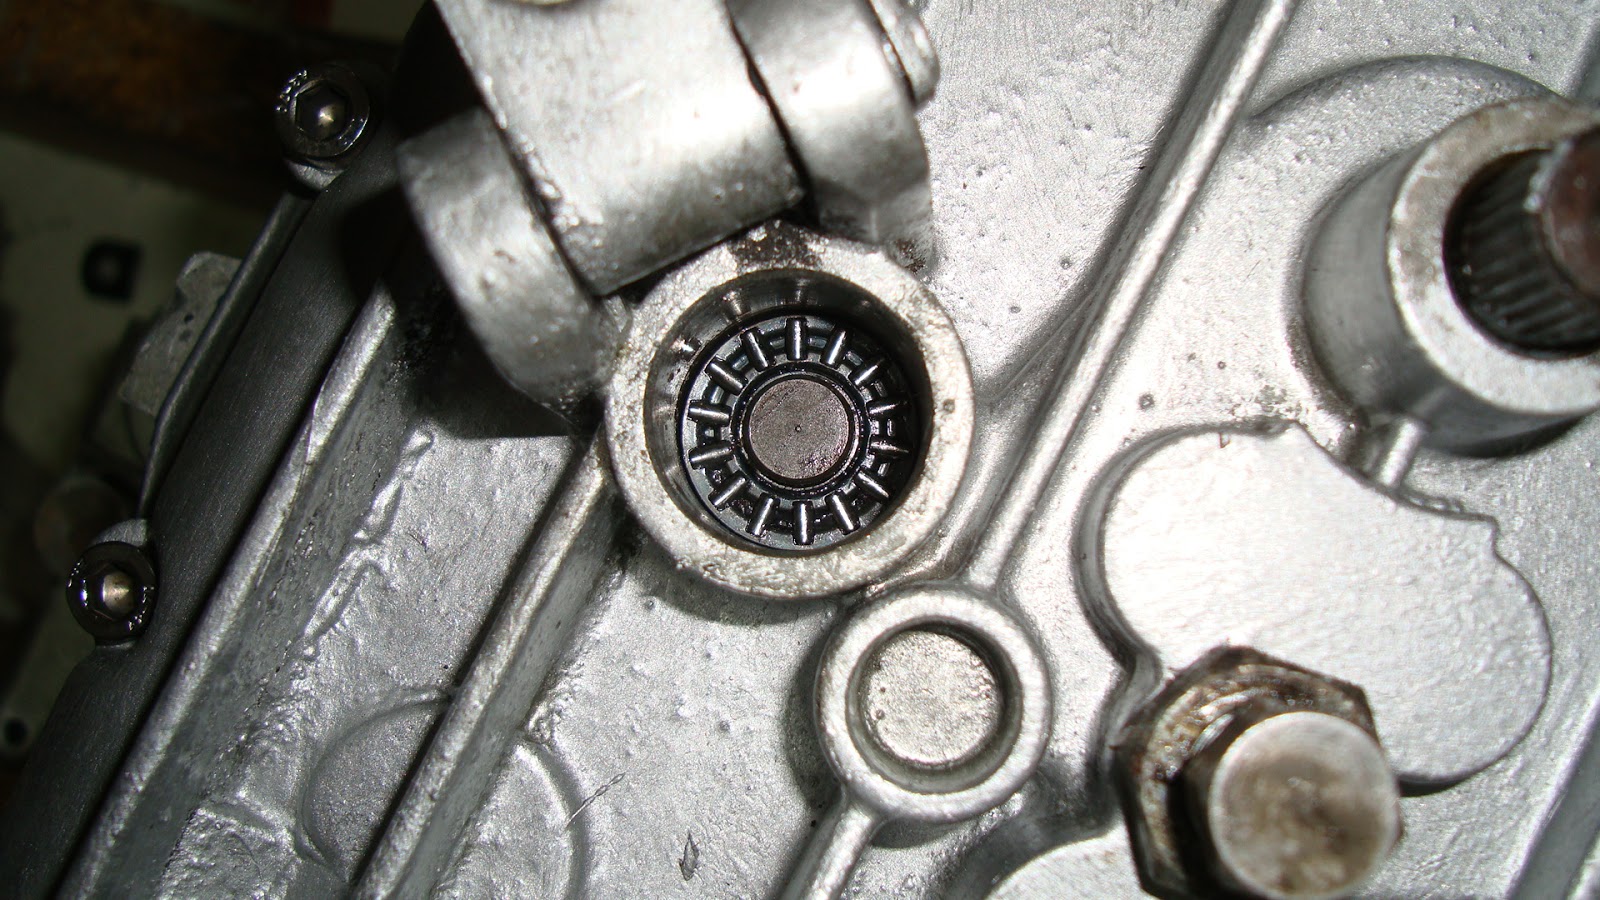
This was pretty simple. I pushed the clutch pusher assembly into the back of the transmission, with a healthy dollop of molybdenum grease


Then spin the workpiece around, and drop the gear into the waiting bearing:  


Put the washer and lock nut on, and do it up handtight until you can't hold the gear tight by hand anymore:


The drop the clutch assembly back in temporarily:


Check the clutch rod is unobstructed before tightening anything up


Now, the old copper-washer-in-the-teeth trick prevents  rotation of the gear as the nut is torqued up:


Then indent the lock ring to prevent any rotation:


She's done! Now for the clutch mounting. Remove the old seal


and add a new one:


 Get the clutch and retaining half-ring:


Install into the clutch housing:


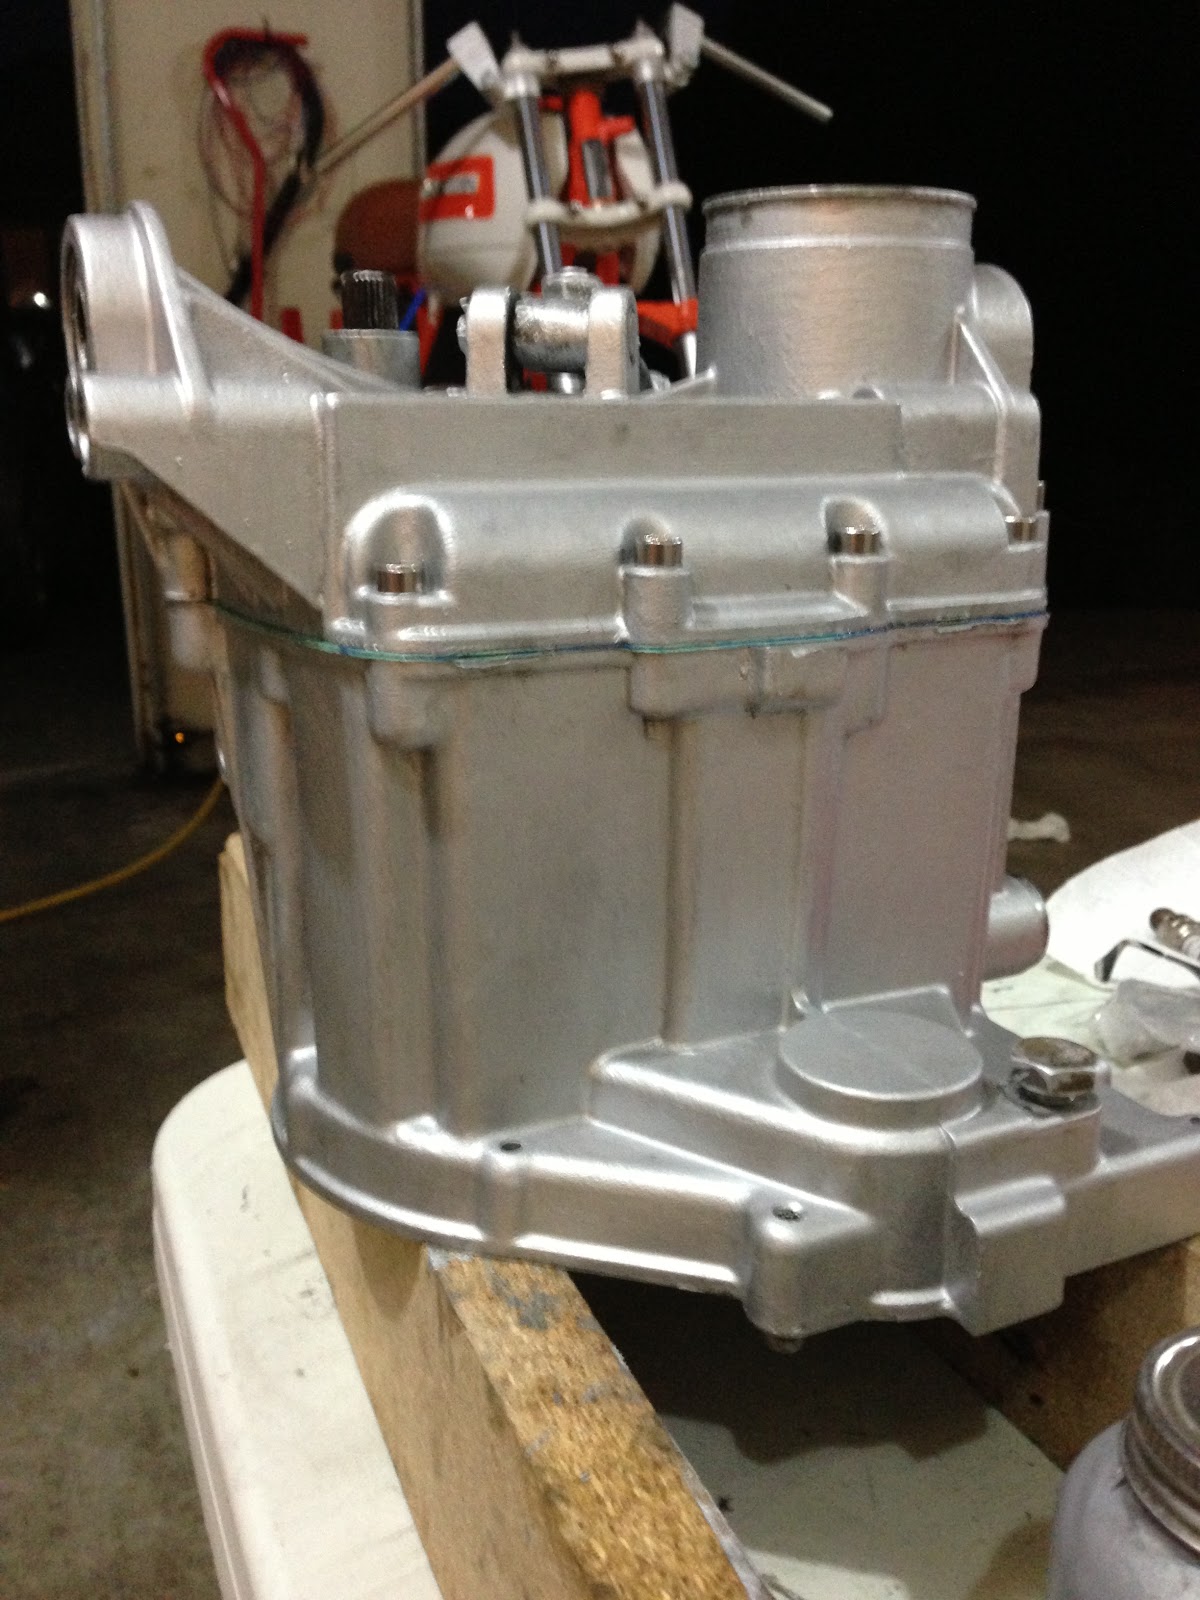
And drop it onto the transmission. Lock with new stainless allenheads, and turn the whole thing over:


Success! This is now ready to be attached to the engine. Note the well-deserved beer modestly hiding.


Swing Arm Bearings

Well, I thought this would involve lots of hard work and swearing, but it was very easy instead. Clearly I must have done something wrong!

I bought a Harbor Freight Blind Bearing Puller. It works really well. You have an expanding bit that is inserted into the bearing:


You then tighten it, so the jaws extend and push into the back of the bearing

When it's tight, pull the slide hammer back as hard as you can, so it hits the handle of the puller. Two pulls and out she came:


Totally blown away by the tool. Other side worked just as well. Only problem is, I now have no more blind bearings to pull! But if I ever do, I'll have the right tool for the job.

To put the new bearing in, just place it on top of the bearing receptacle:


and then rattle it into place with side-to-side motions of the flat face of a hammer like so:

End of story.

Sunday, October 14, 2012

Gentle Rebuild

Ah well... rain stops bike riding in the Pacific Northwest, so back to the Guzzi rebuild I go. A lot of tidying up the garage after summer's distractions, and just some simple rebuilding to get back into the swing of things.

The gearbox went back onto the transmission housing without problem

It's now ready for the clutch to be rebuilt. The timing chest cover went back on easily too:


needs new seals for the alternator and timing shafts:


So three parallel projects here: clutch rebuild, top-end rebuild, and alternator/ignition timing rebuild. More soon!

Sunday, September 30, 2012

New Seat

I had the seat remade and recoverd by Rich O'Connor of Rich's Custom Seats in Kingston, WA. Here's the finished product:


But let's start at the beginning. I turn up at Rich's to see a fine collection of bikes inside and outside his shop


I really don't like the stock seat cowl, and think the bike looks too rectangular. As I wanted a rounded bum-stop seat, Rich first made an extension to the seat pan.


He then added and removed seat foam to sculpt the seat to the idea I had in my head:


The man himself:


Rather shaky picture taken in Rich's workshop:


Better photos taken once I got it home:


I'm starting to think about tidying up the rear by removing the fender, or at least chopping it off below the frame line, and adding an LED-based license plate holder:


Look how much better it looks that the old seat, in the previous blog below. Final comment: BIG THANKS to Rich and his team in Kingston, WA. Great, great craftsmanship and service, totally recommended to anyone wanting a seat made to their specific requirements.

Wednesday, August 22, 2012

Painted Tank

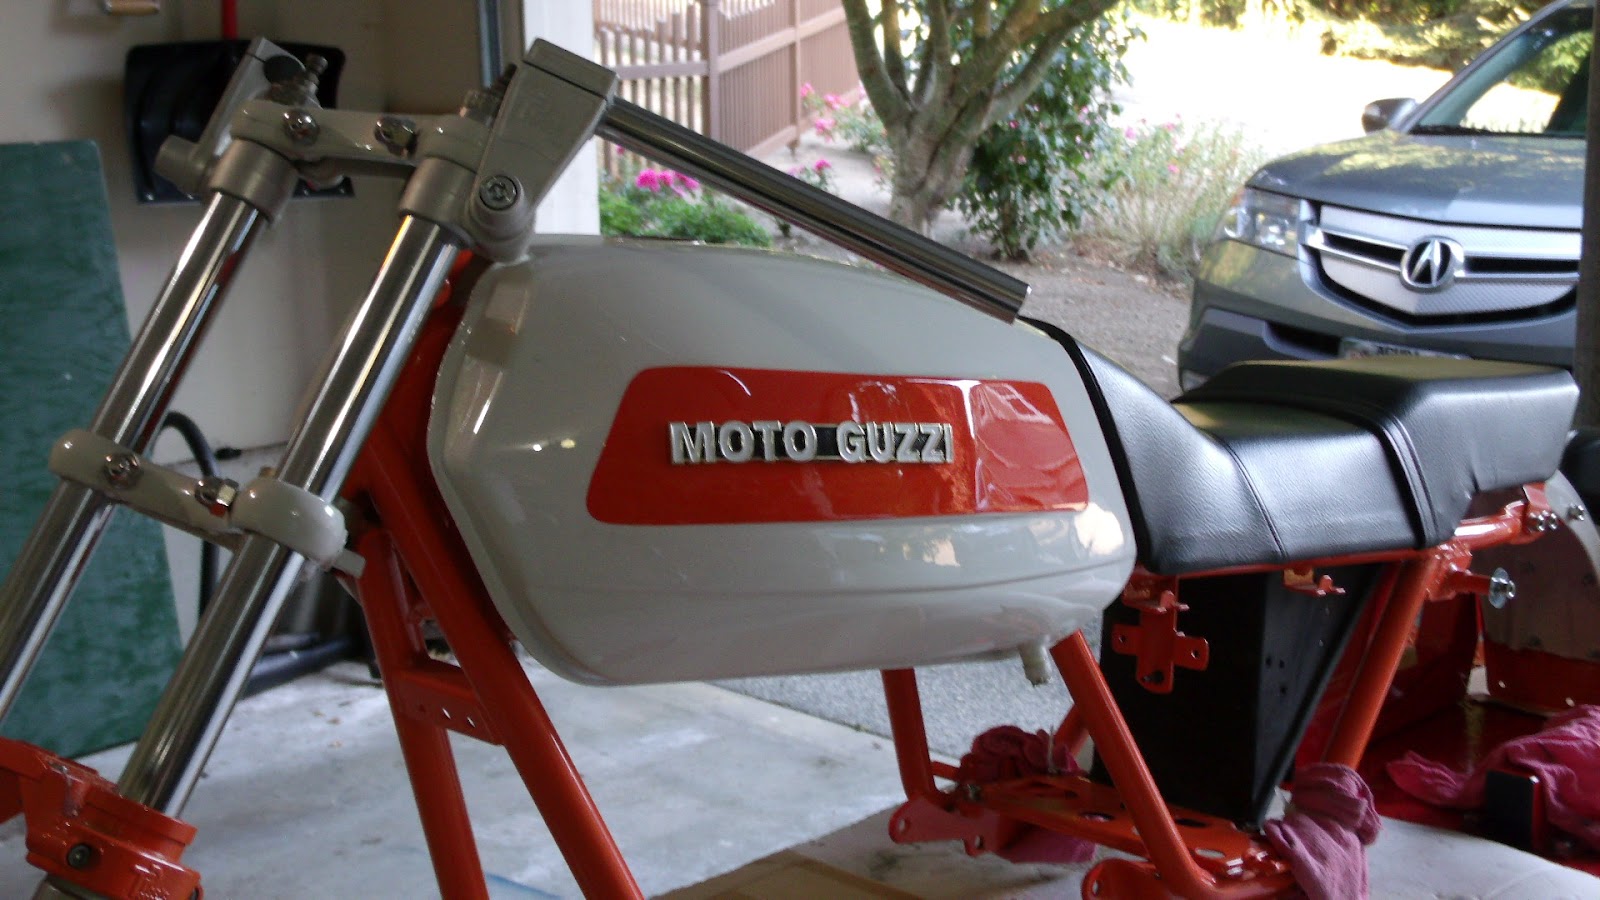
So, I got the tank back after being painted by the excellent Jon Conway of Fenders and Fins:


I'm really digging the color scheme as it evolves


Seat recovering is the last summer (i.e. outsource) project, then back to the engine rebuild when the nights draw in!


Sunday, March 4, 2012

Seat and Tank Trial Build

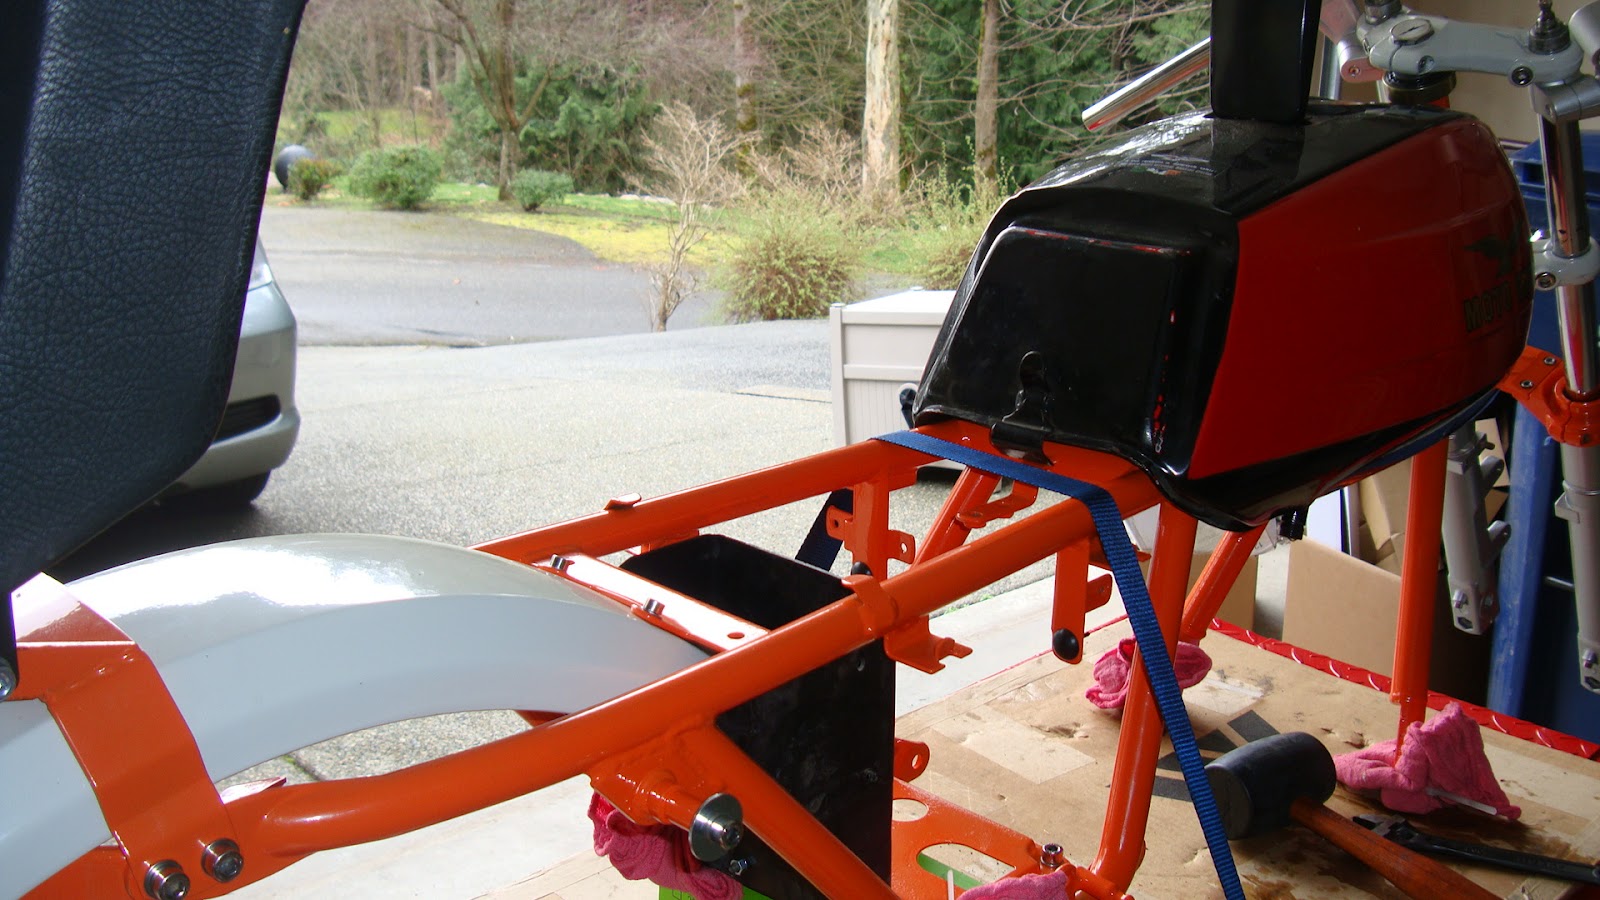
While the engine is still in bits, I decided to get the tank out for painting and the seat redone. Here's several pictures of various bits and pieces:

Note the wonderfully complex way the rear fender goes on: 


I decided to keep the original tank because the gas just sits so low in the frame. It needs to be painted. Aslo, I fitted new rubber tank mounts and was amazed how hard it was to get the tank on. Clearly they compress a lot in use. With the old rubber mounts the tank came on and off like a pair of slippers. Not so with the new ones!


Then I added the seat:


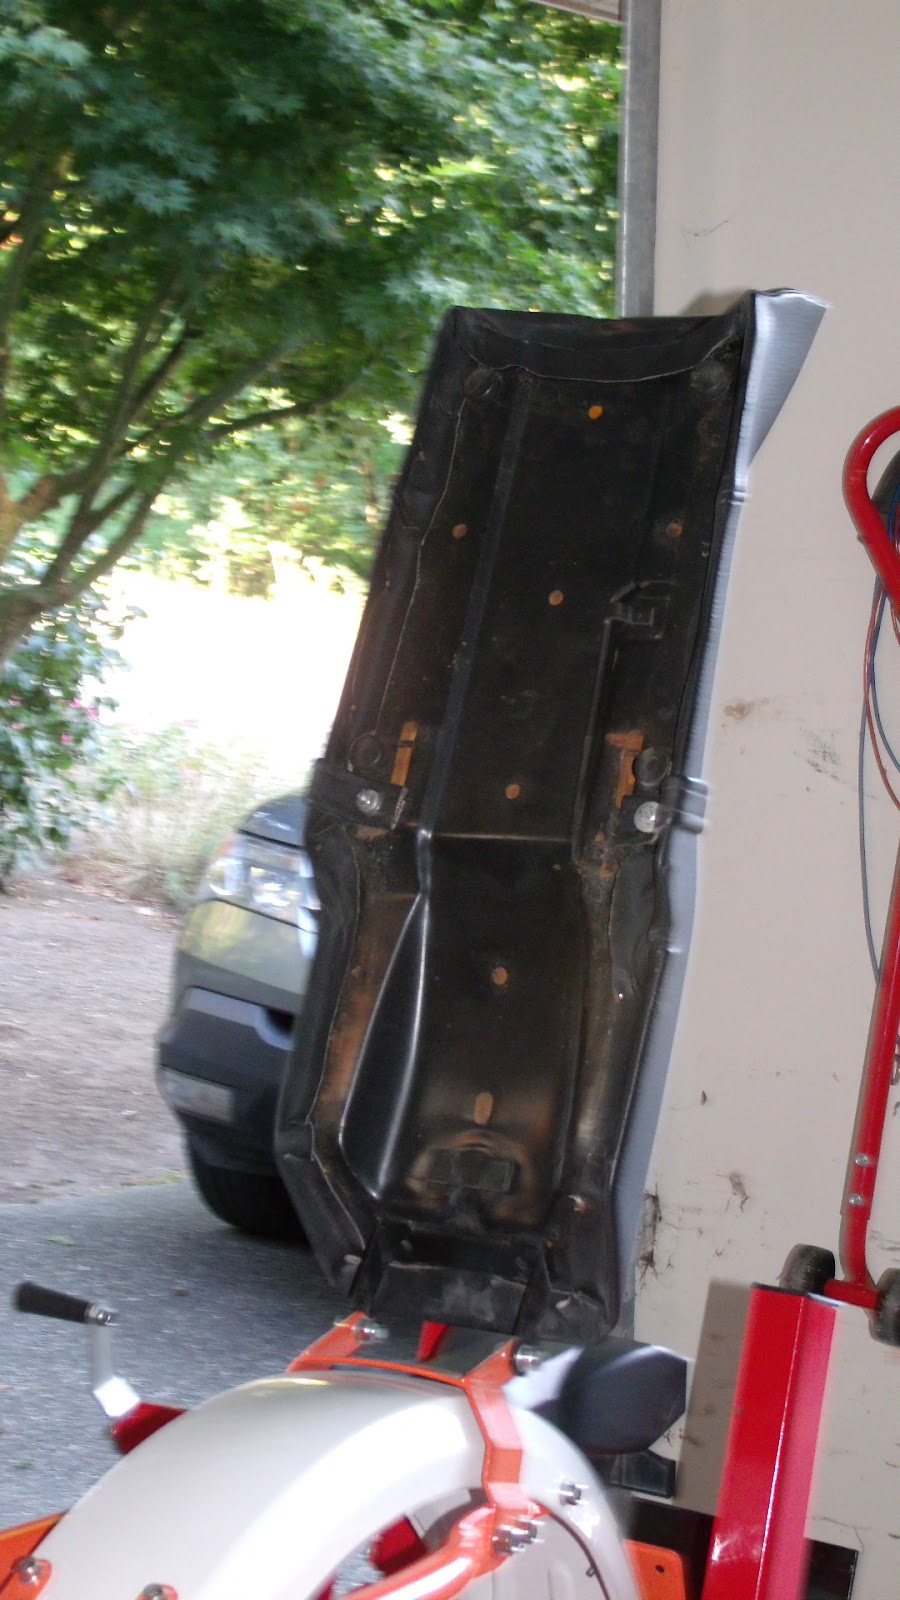
I like the old seat except for how it looks from the rear. I'm not a great fan of the rectangular plastic piece Guzzi use as an end piece, so need to work something better out. 


Note how 30 years of use means the seat foam pulls away from lying against the tank.