Saturday, November 27, 2010

First snag! Front fork removal

Well, I've hit my first problem. With the front wheel removed, I drain the fork:


and then attempt to remove the bolt that holds the suspension unit into the fork. To stop the body rotating, I screwed a spanner into a brake mounting point:


But no matter how hard I try, including having someone else help by holding the spanner really rigidly, this screw will not turn. I tried the same thing on the other side, same result. Am I doing something wrong?

Advice is very welcome!

Instrument Cluster

This part surprised me a little, because I expected a plug at the instrument cluster and another plug near the battery. Instead, the instrument cluster wires into the loom (with easily removed connectors, admittedly) and a long length of wiring loom goes off to the battery region, where it does indeed terminate in a plug.

Here's the instrument cluster at the start: 


Side view. The IC is supported by two brackets, one of either side, underneath the clip-ons.


Remove the cluster from the brackets (just a scree on either side) and off it comes


I expected to remove these two screws at the top, and find a connector block. As it turned out, there is no single connector block, but may individual connectors going to (for example) the neutral light, the turn indicators etc:


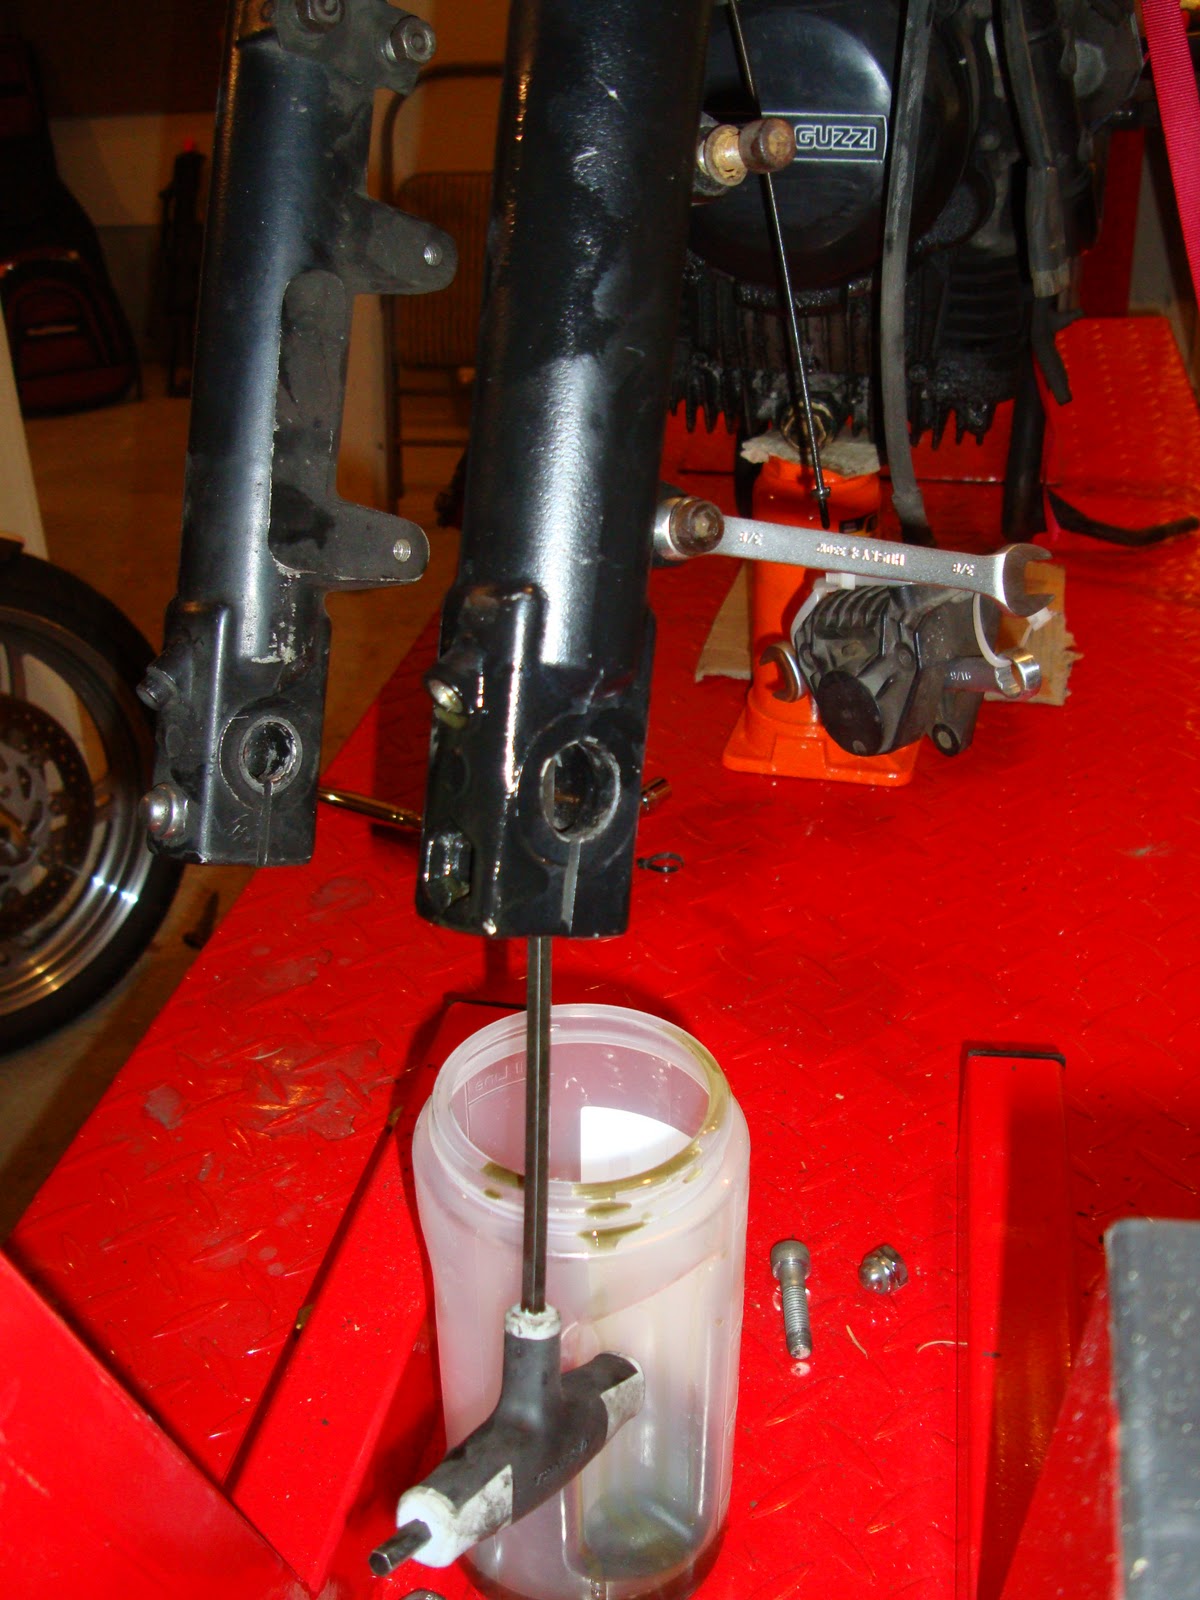
I removed the speedo and tacho drives


This was a mis-step. No connector block under here! Put it back together again sharpish! 


The wiring literally fell off the ignition switch. Some former owner should hang his head in shame! If you're reading this, you know who you are ;-)


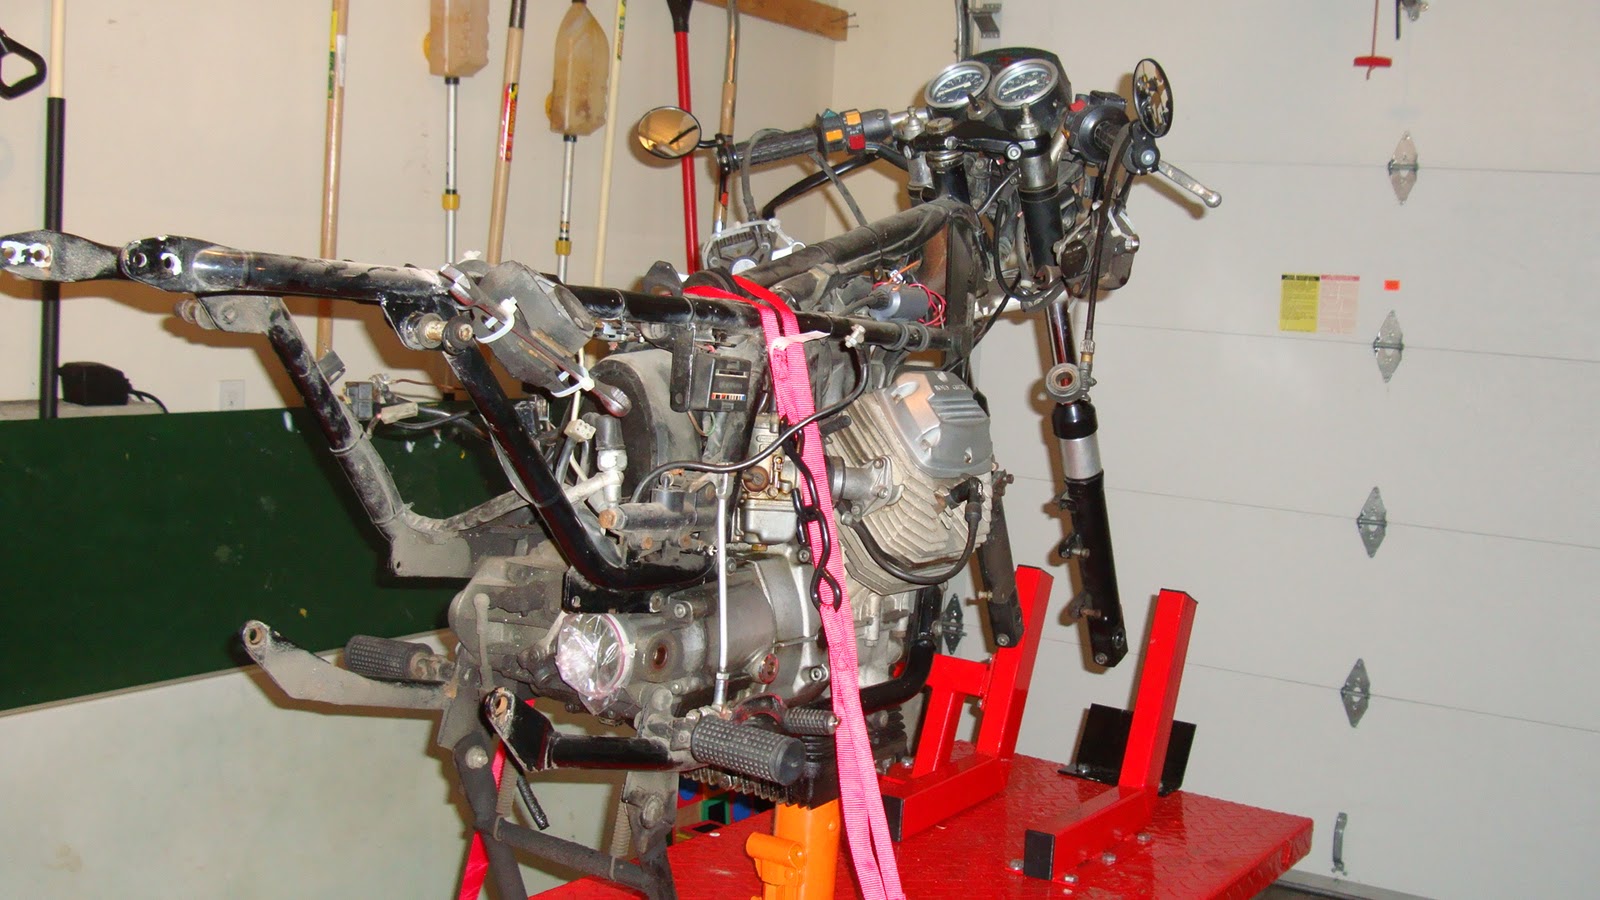
Look how far down the wiring loom goes!


The loom also contains the front brake light switch


These connectors goes to the LHS switchgear, and aren't part of the instrument cluster. I disconnected it anyway at this time to make removed of the LHS handlebar controls possible. 


Saturday, November 20, 2010

End of Day 1

So here she is at the end of my first day's efforts


 This shows the back of the airbox. You can also see the clutch operating lever, and the transmission output, covered with a plastic bag to stop the ingress of crapunzle.

Front Fairing

I'll freely admit that I don't like the fairing Guzzi put on the Monza. Only the LM1, or other bikini fairing, cuts it for me. So this section is for those gentle readers who want to restore the butt-ugly square fairing. Me, I'm taking it off, and it will not return!

 I call this the chin screw: it bolts the fairing into the bottom yoke
 I did this after removing the front wheel, and also the front mud guard
Again, I'm not ready to bleed the brakes yet, so they're just giving something to bite on and put out of harm's way

Removing the mudguard

The front indicators were wired in using simple bullet connectors: pull them out, then then unscrew the indicators. The chin bolt and indicators are what holds the red plastic fairing to the sub-frame.


 Nice little waether-proofing guard underneath the fairing
 comes off with just two bolts, one either side


leaving the headlamp in place by itself


 Remove two long screws, that have ridges that the thin metal headlamp surround fits into...

 Out comes the headlamp

Toolholder

The humble toolholder cavity, underneath the seat and behind the battery, serves an important purpose as it is also the mounting point for both the rectifier and the regulator.

Here's the battery plate

and the rear of the tool holder

Notice that the RHS battery strap is held captive by the battery plate. Only the LHS can come free, so the battery must be slid out via the LHS


This is the seat retainer, which screws into the top of the toolholder


The rectifier screws into the LHS of the toolholder


 The voltage regulator on on the RHS. The white connector is to the rear lighting loom.


 The rectifier with the connectors pulled out:


This is the toolholder removed, with the rectifier and regulator on either side


and a picture of the frame with the battery, battery plate and toolholder removed: