Wednesday, December 29, 2010

Bottom Frame removal

With the top frame off, and the center stand removed, the lower frame comes off easily:


This bolt has a twin on the other side. Another bolt actually slides all the way through the engine, at the top of the sump, and holds both lower frame members.


Once off the engine, I removed the gear lever side footrest. Could have done that earlier, I guess.


Monday, December 27, 2010

Gear Lever Removal

I then needed to remove the gear lever. This was straightforward. A 10 mm bolt holds the gear spline shaft and the end of the connecting assembly together


Note the split pin. This comes out easily:


Here's the sub-assembly, removed from the gear spline shaft


I employed a small boy to rotate the gear lever through about 90 degrees, whilst I photographed the other side of the sub-frame:


Just loosen another 10 mm bold, and tap the linkage off the gear lever's splined shaft. Here's the whole assembly.


Center Stand Removal

With a little help from a teenage son, we lifted the bike up from the rear, raised the center stand to its riding position, and then removed the bottle jack that was holding the front of the engine. This left the engine lying on its sump.


The springs are very stiff, so I removed the mounting bolts first, and then removed the springs


All pretty straightforward.

Top Frame Removal

OK, so now it's time to remove the top frame.

To access the bolt that holds the lower section of the top frame into the engine, you must first remove the starter motor assembly: 


This is easy, just two bolts:


Then remove the nut from the other side of the bike, and give the bolt a sharp tap with a hammer.

and out it comes. That part of the engine is covered in oil, so there's no chance of the bolt seizing. What will happen if I ever succeed in making the engine oil-tight?


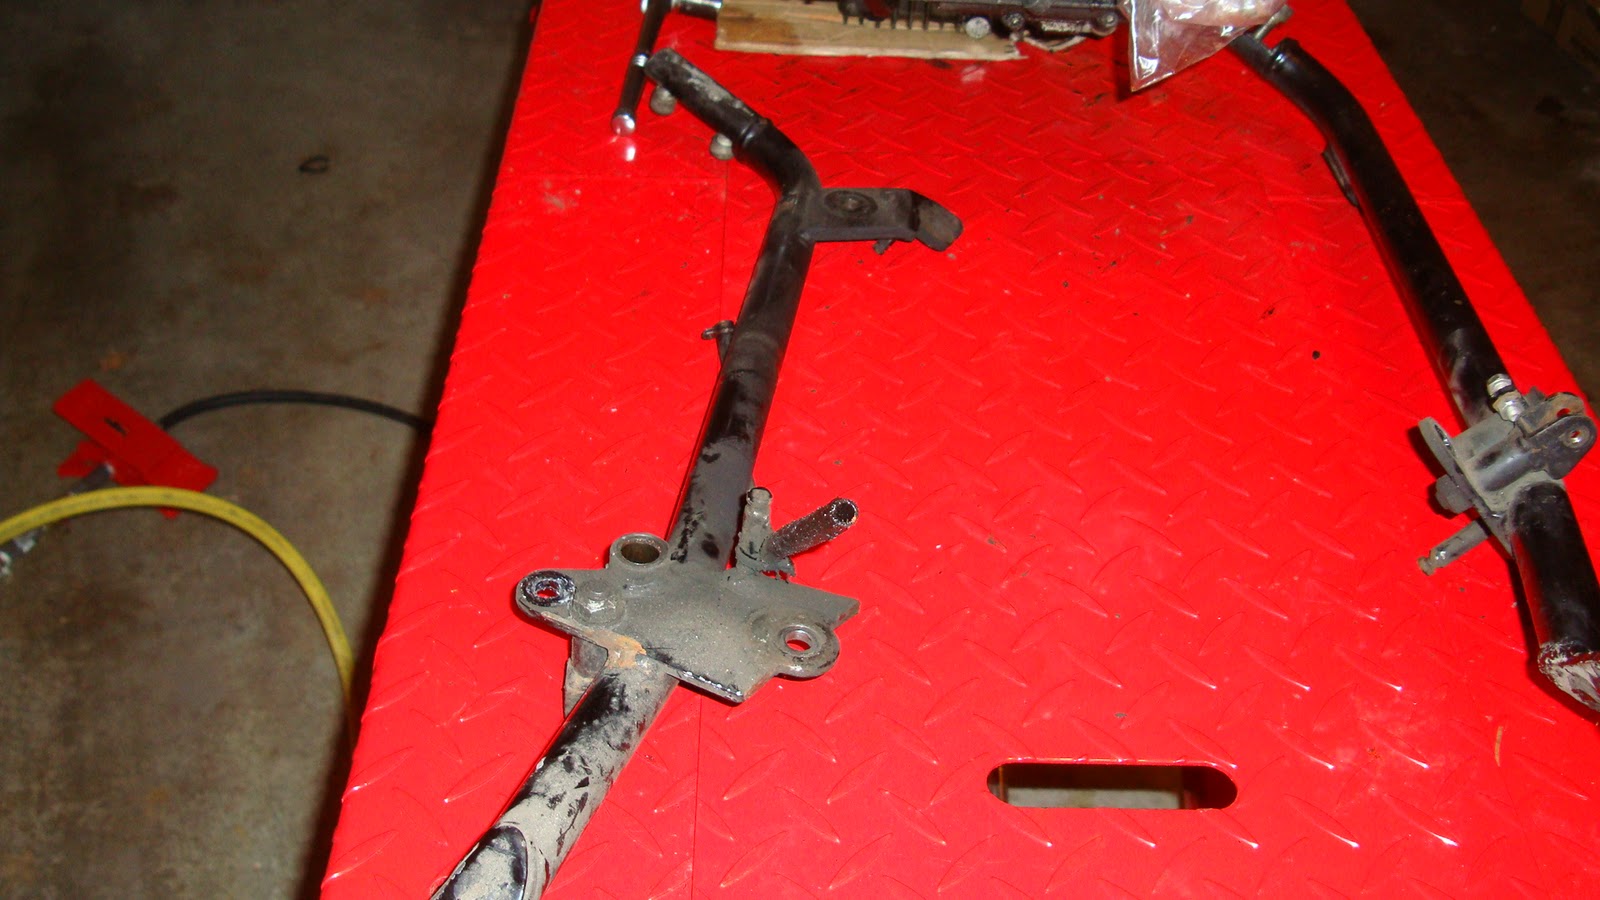
Then just remove the bolts from the front part, where the top and lower frames meet:


and remove this bolt too. The one on the other side was missing entirely!


The top frame just lifts off:


I was able to remove the lower race easily when the top frame was on the bike, using a screwdriver down the inside of the steering head and a suitable hammer. Now the top frame is off, I turned the top frame upside down, and made up a concoction of spart plug removal socket, plus extension pieces. Drop that down the steering head, a few sharp taps with a hammer (OK, bloody big hits) and off comes the top race:


Success!

Top Frame Measurements

These are measurements I made to facilitate tank and seat design/selection:


I removed the lower steering race with a screwdriver and large hammer. I left the top one until after the frame was removed.


I also removed the rubber cover off the tank mounting bolt, just to show that the frame itself looks like there:


Sunday, December 12, 2010

End of December 12 2010

So, by the end of Dec 12, I basically only have the engine in the frame. I have a few things, like the gear linkages and foot control still to removed. But here's some photos taken around the bike and the end of play today:


Airbox and Carbs


 Removing the carbs is so easy I didn't take any pictures! I just pulled the cylinder head breather pipes out of the breather box:


and pulled the breather box out the battery space. It is a piece of work! A thunderous air filter:


The two connectors of the left here take the cylinder head breathers. The big one in the middle should vent to the road, but the pipe was ripped so it breathed all over the engine instead:


The pipe at the back was connected to the sump return line.


Gotto love this mod. It's described in Guzziology. The loop is meant to help oil condense and drip back into the engine. BUT, the other end is supposed to be long enough to go past the side of the bike and vent to the road: not onto the top of the engine!


Sweet gods above!